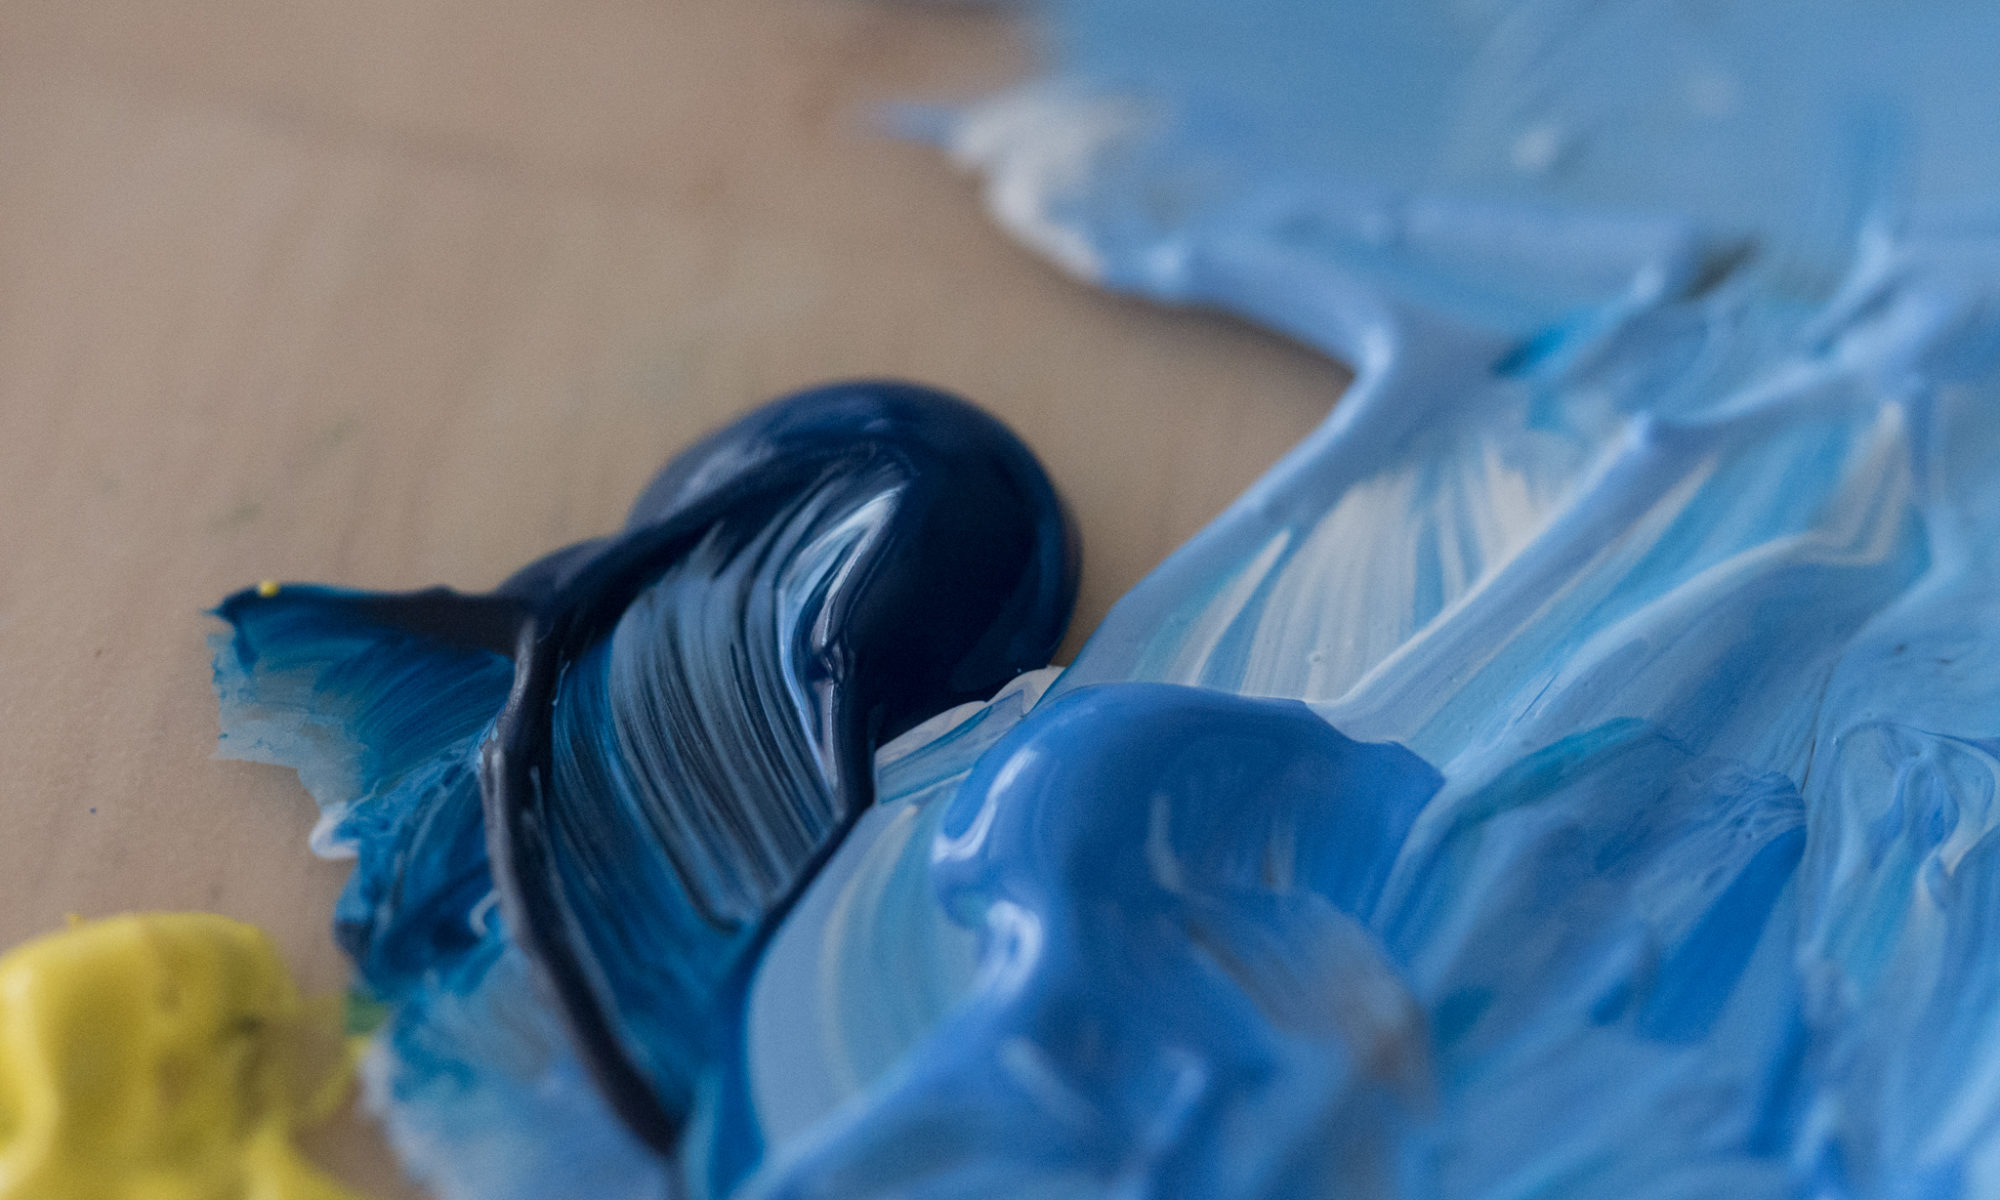
This weekend, I painted my room! I chose a light blue called Cloud-Wisped Sky (in an eggshell finish). This was a big change because my room used to have bunnies on the wall. Now there are no bunnies- they are covered with paint. It was really fun and took the whole day to paint it. This is how the color looks:
 I love how this turned out!
Before we could start painting though, we had to do so much preparation. The very first thing was to put plastic on the ground. This was so we wouldn’t get the carpet dirty. We had to use a lot of blue tape to stick the plastic on. Since my room had wallpaper on the walls, we had to take that off to start painting. So, my family and I did some research and experiments for how to take it off.
The first wall was the smallest- the testing wall. This actually was the hardest wall of all because we used an iron to take it off. The iron was super hot, and we had to use a wet towel pressed against the wall, with the iron on top. When ever we pushed the iron against the wall, hot steam came gushing out. It was so hot it burned our hands! It took such a long time just to do that small wall!
Then my mom researched a better way to take off wallpaper, and found a much more efficient way to do it- faster and better. First, we would take off the top layer. Here is a picture of my mom taking off the outside of the wallpaper: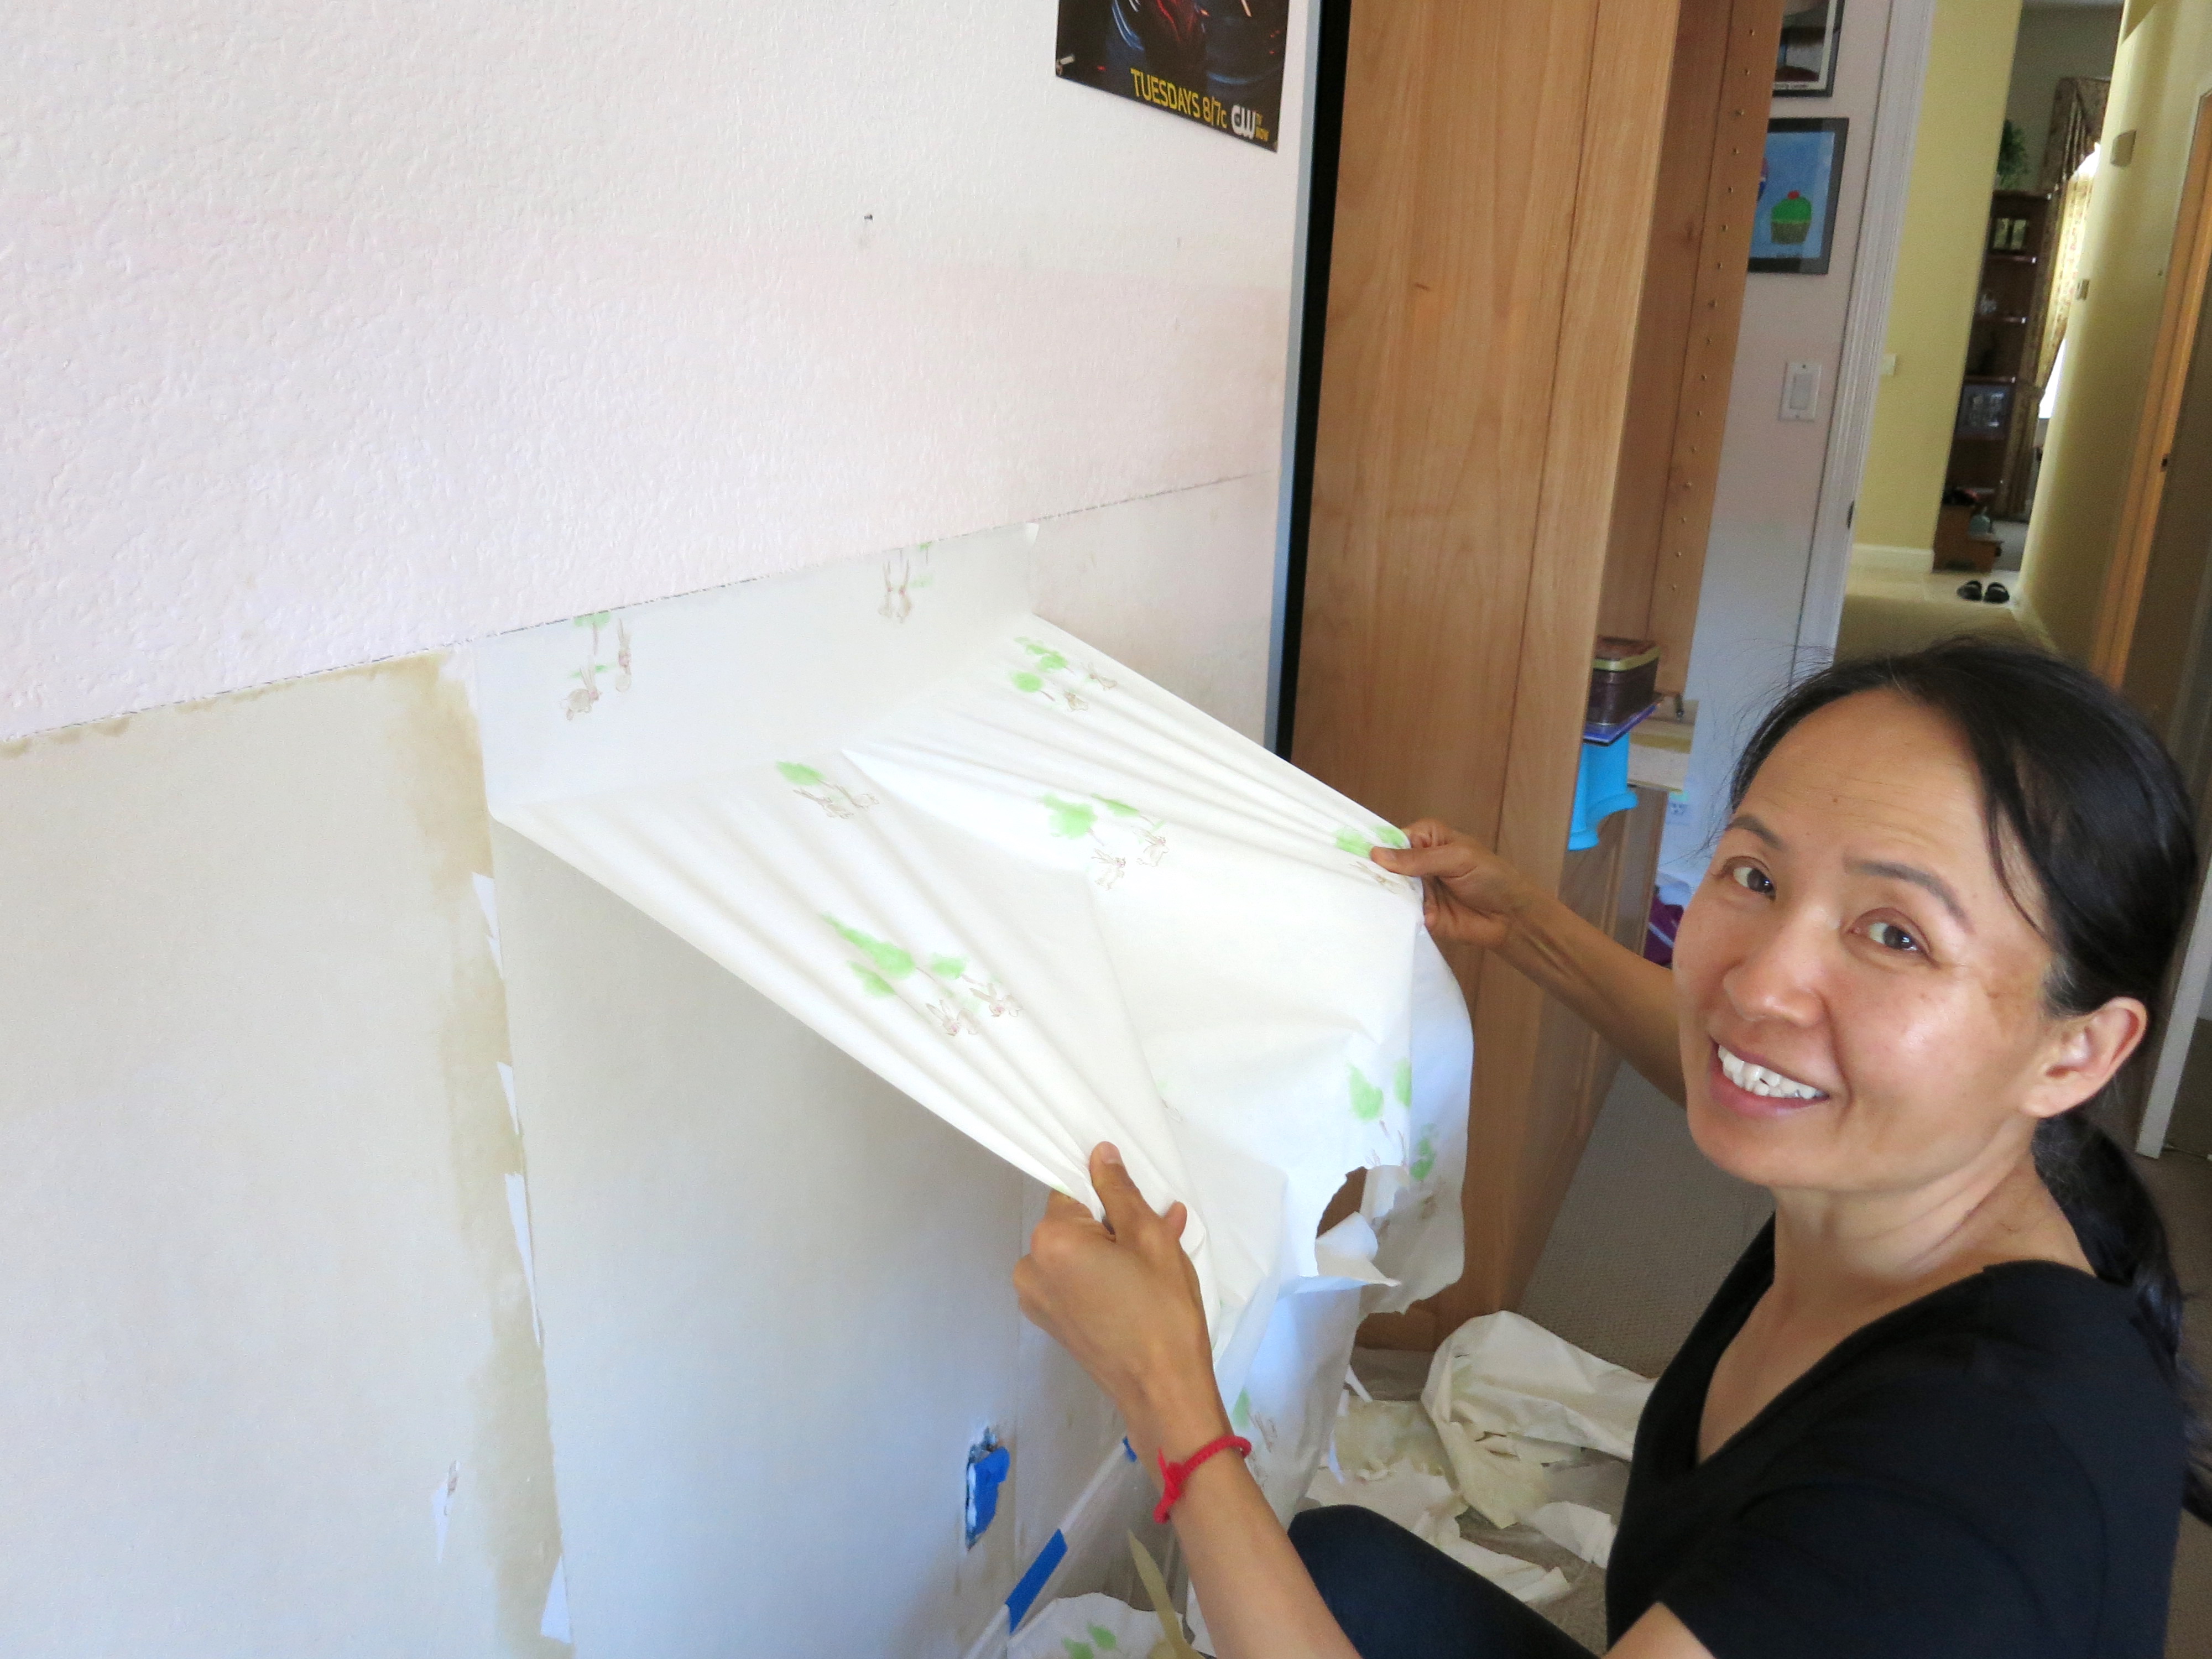
She did a great job helping me take it off.
There is also a layer underneath that is like thin brown paper. We took that off using a spray bottle and a paper towel. Underneath that is a thick layer of glue. This was the hardest to take off because we had to use hot water, a basin, and a towel to wipe it all off. The whole thing was very time-consuming, but with some music and a friend it goes by quickly.
We had to move all of my furniture to take the wallpaper off. Sometimes, I had to sleep in the middle of the room or on the side. But with patience and perseverance, we eventually removed all of it.
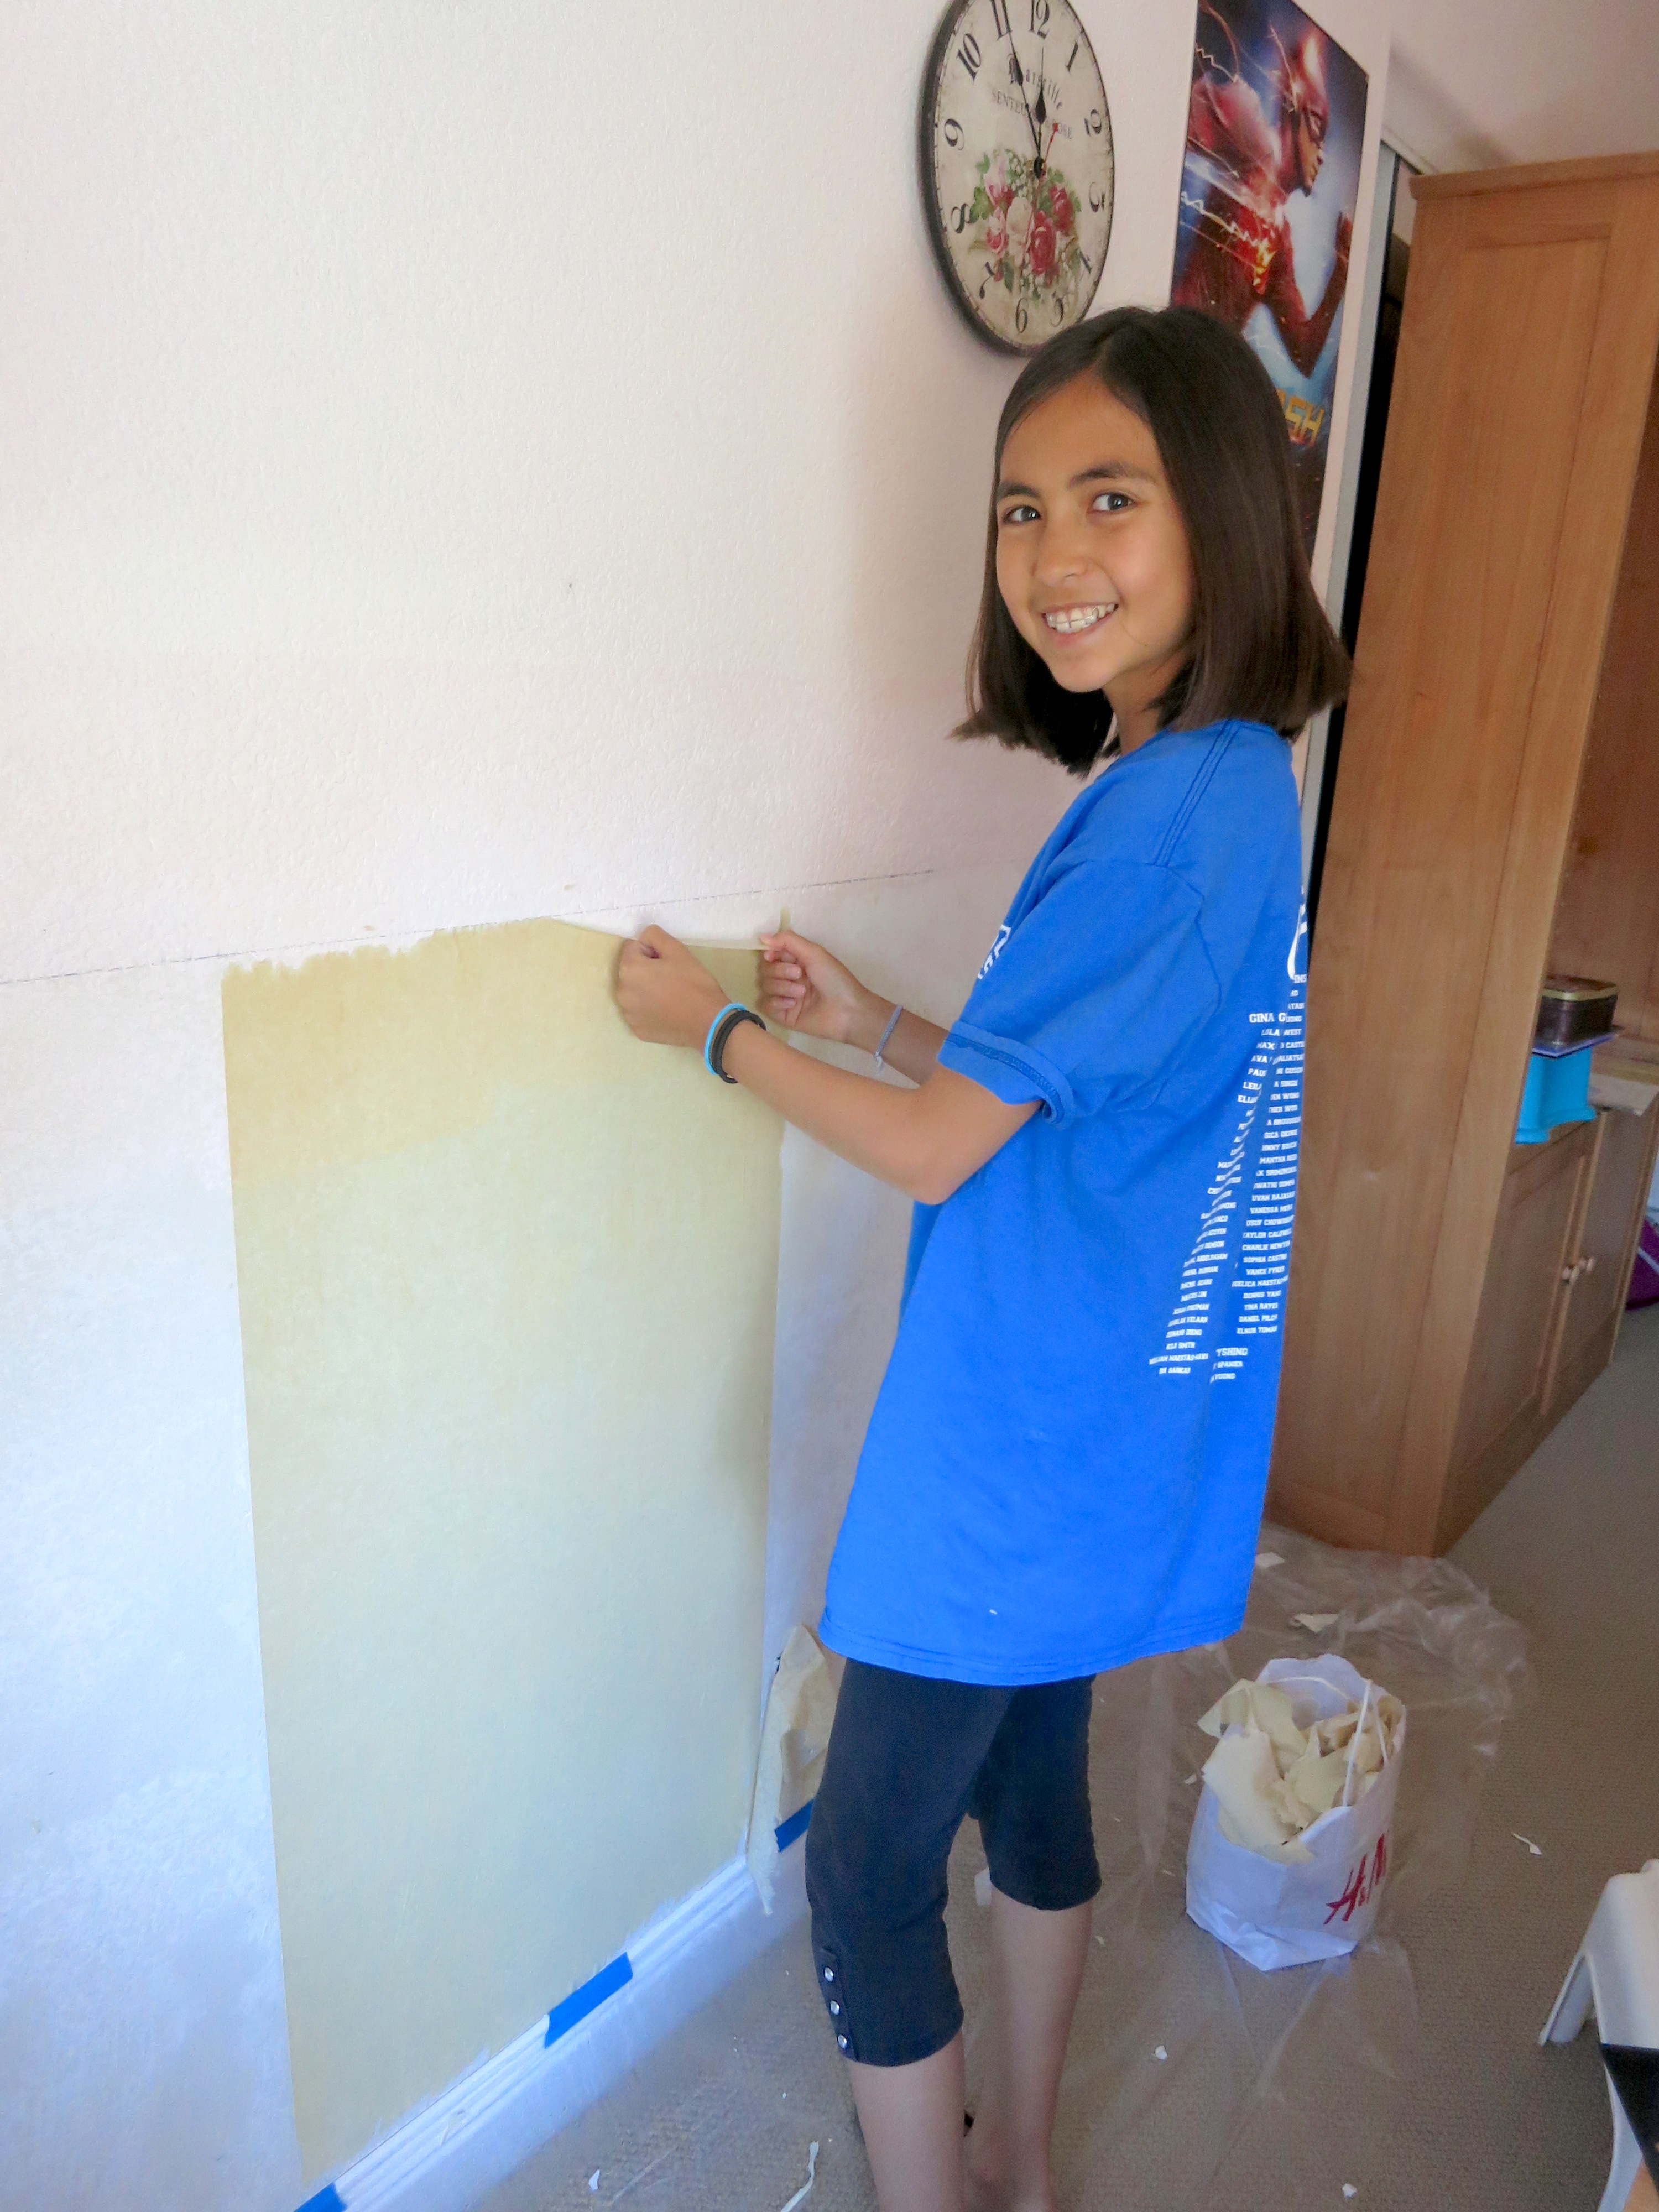
Here is a picture of me taking the very last piece of wallpaper off.
It felt like a great accomplishment to finally finish!
So after taking off all the wallpaper, it was time to move on. But before painting, I had to choose a color. My dad gave me a giant color wheel from Kelly Moore so I could look at the options There were so many!
This is what all the colors look like: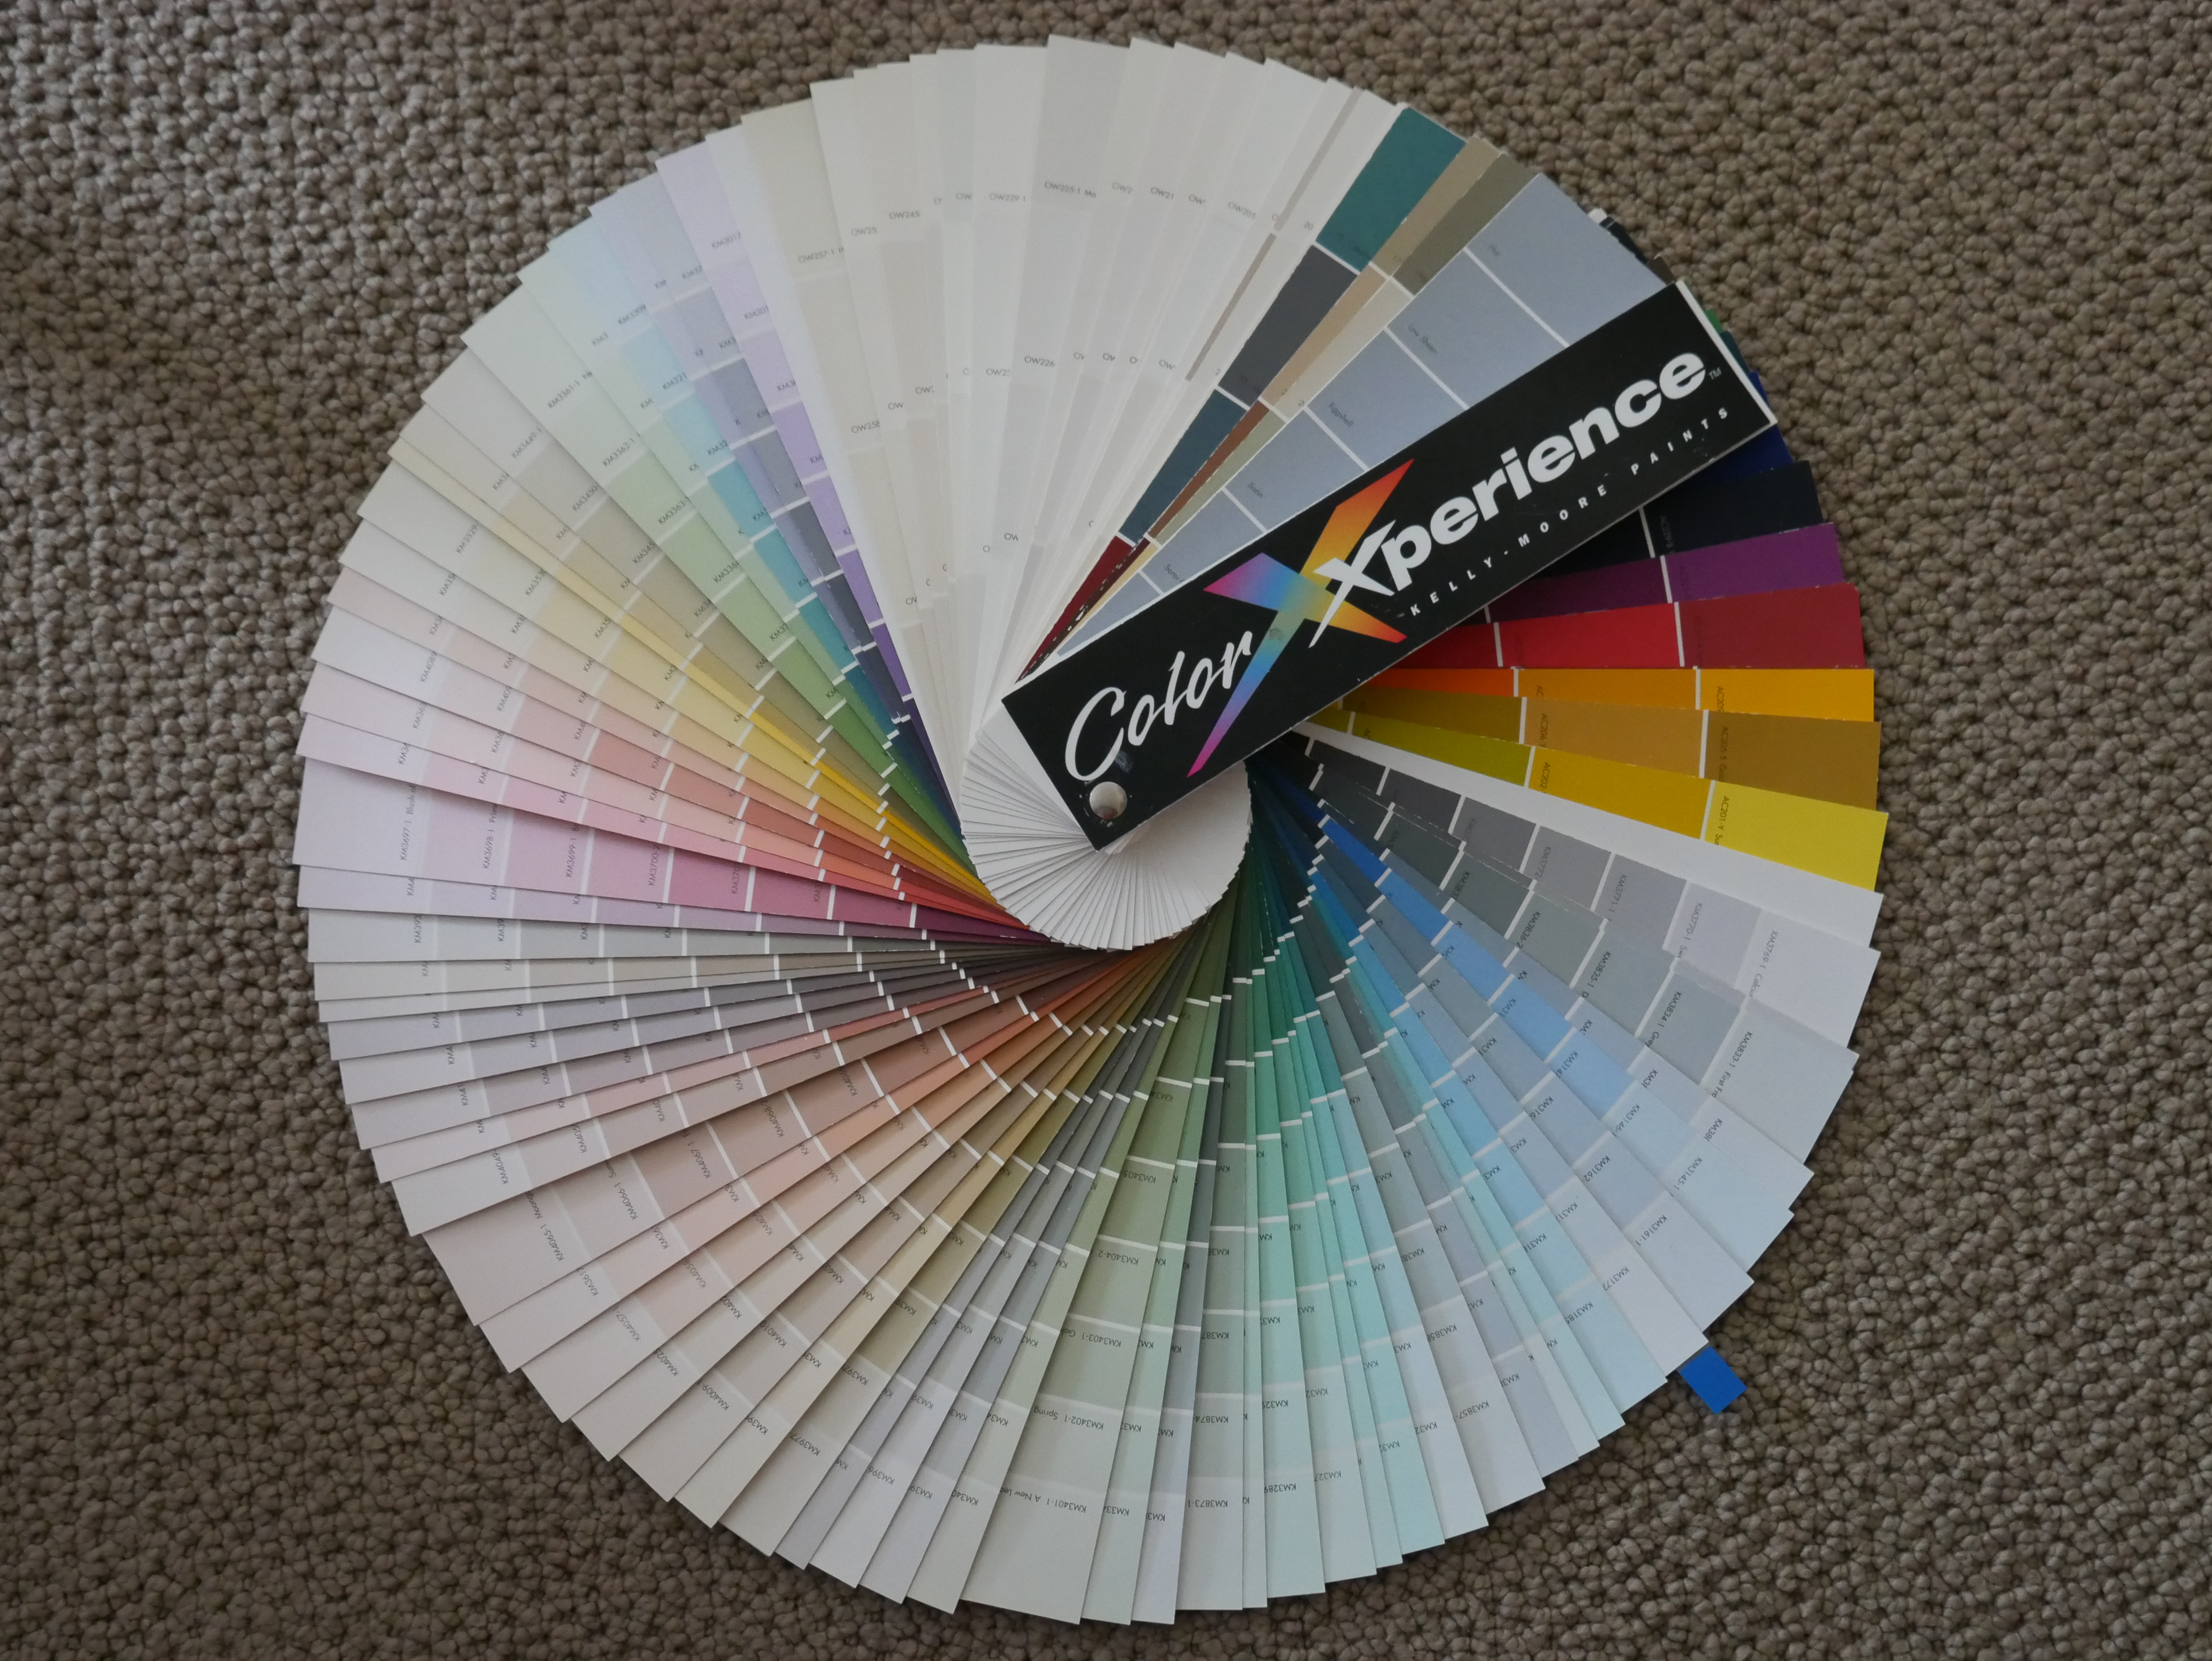
There were hundreds to choose from!
I knew that if I chose a color that looked rich and vibrant at first glance, then it would look really dark once it was covering all the walls in my room. My dad told me the story of when he was young and he picked out a blue color for his room that turned out to be way too dark, but once they finished painting his room, they could never be bothered to go back and change it, and he lived in that dark blue room until he left for college! 🙂 So, he suggested that I pick a lighter color. 😀
I found a trick; if you hold the color chip up to the wall, you can kind of imagine how it will look on all the walls. Contemplating the billions of choices, I finally picked a really pretty light blue color called Cloud-Wisped Sky.
The final step before painting was to prime the walls, which means painting a thick white paint over the dark parts so they won’t show through the actual paint color. This was finally the part where we painted over the bunnies that have been in my childhood forever. It was kind of sad, but I was ready to do it.
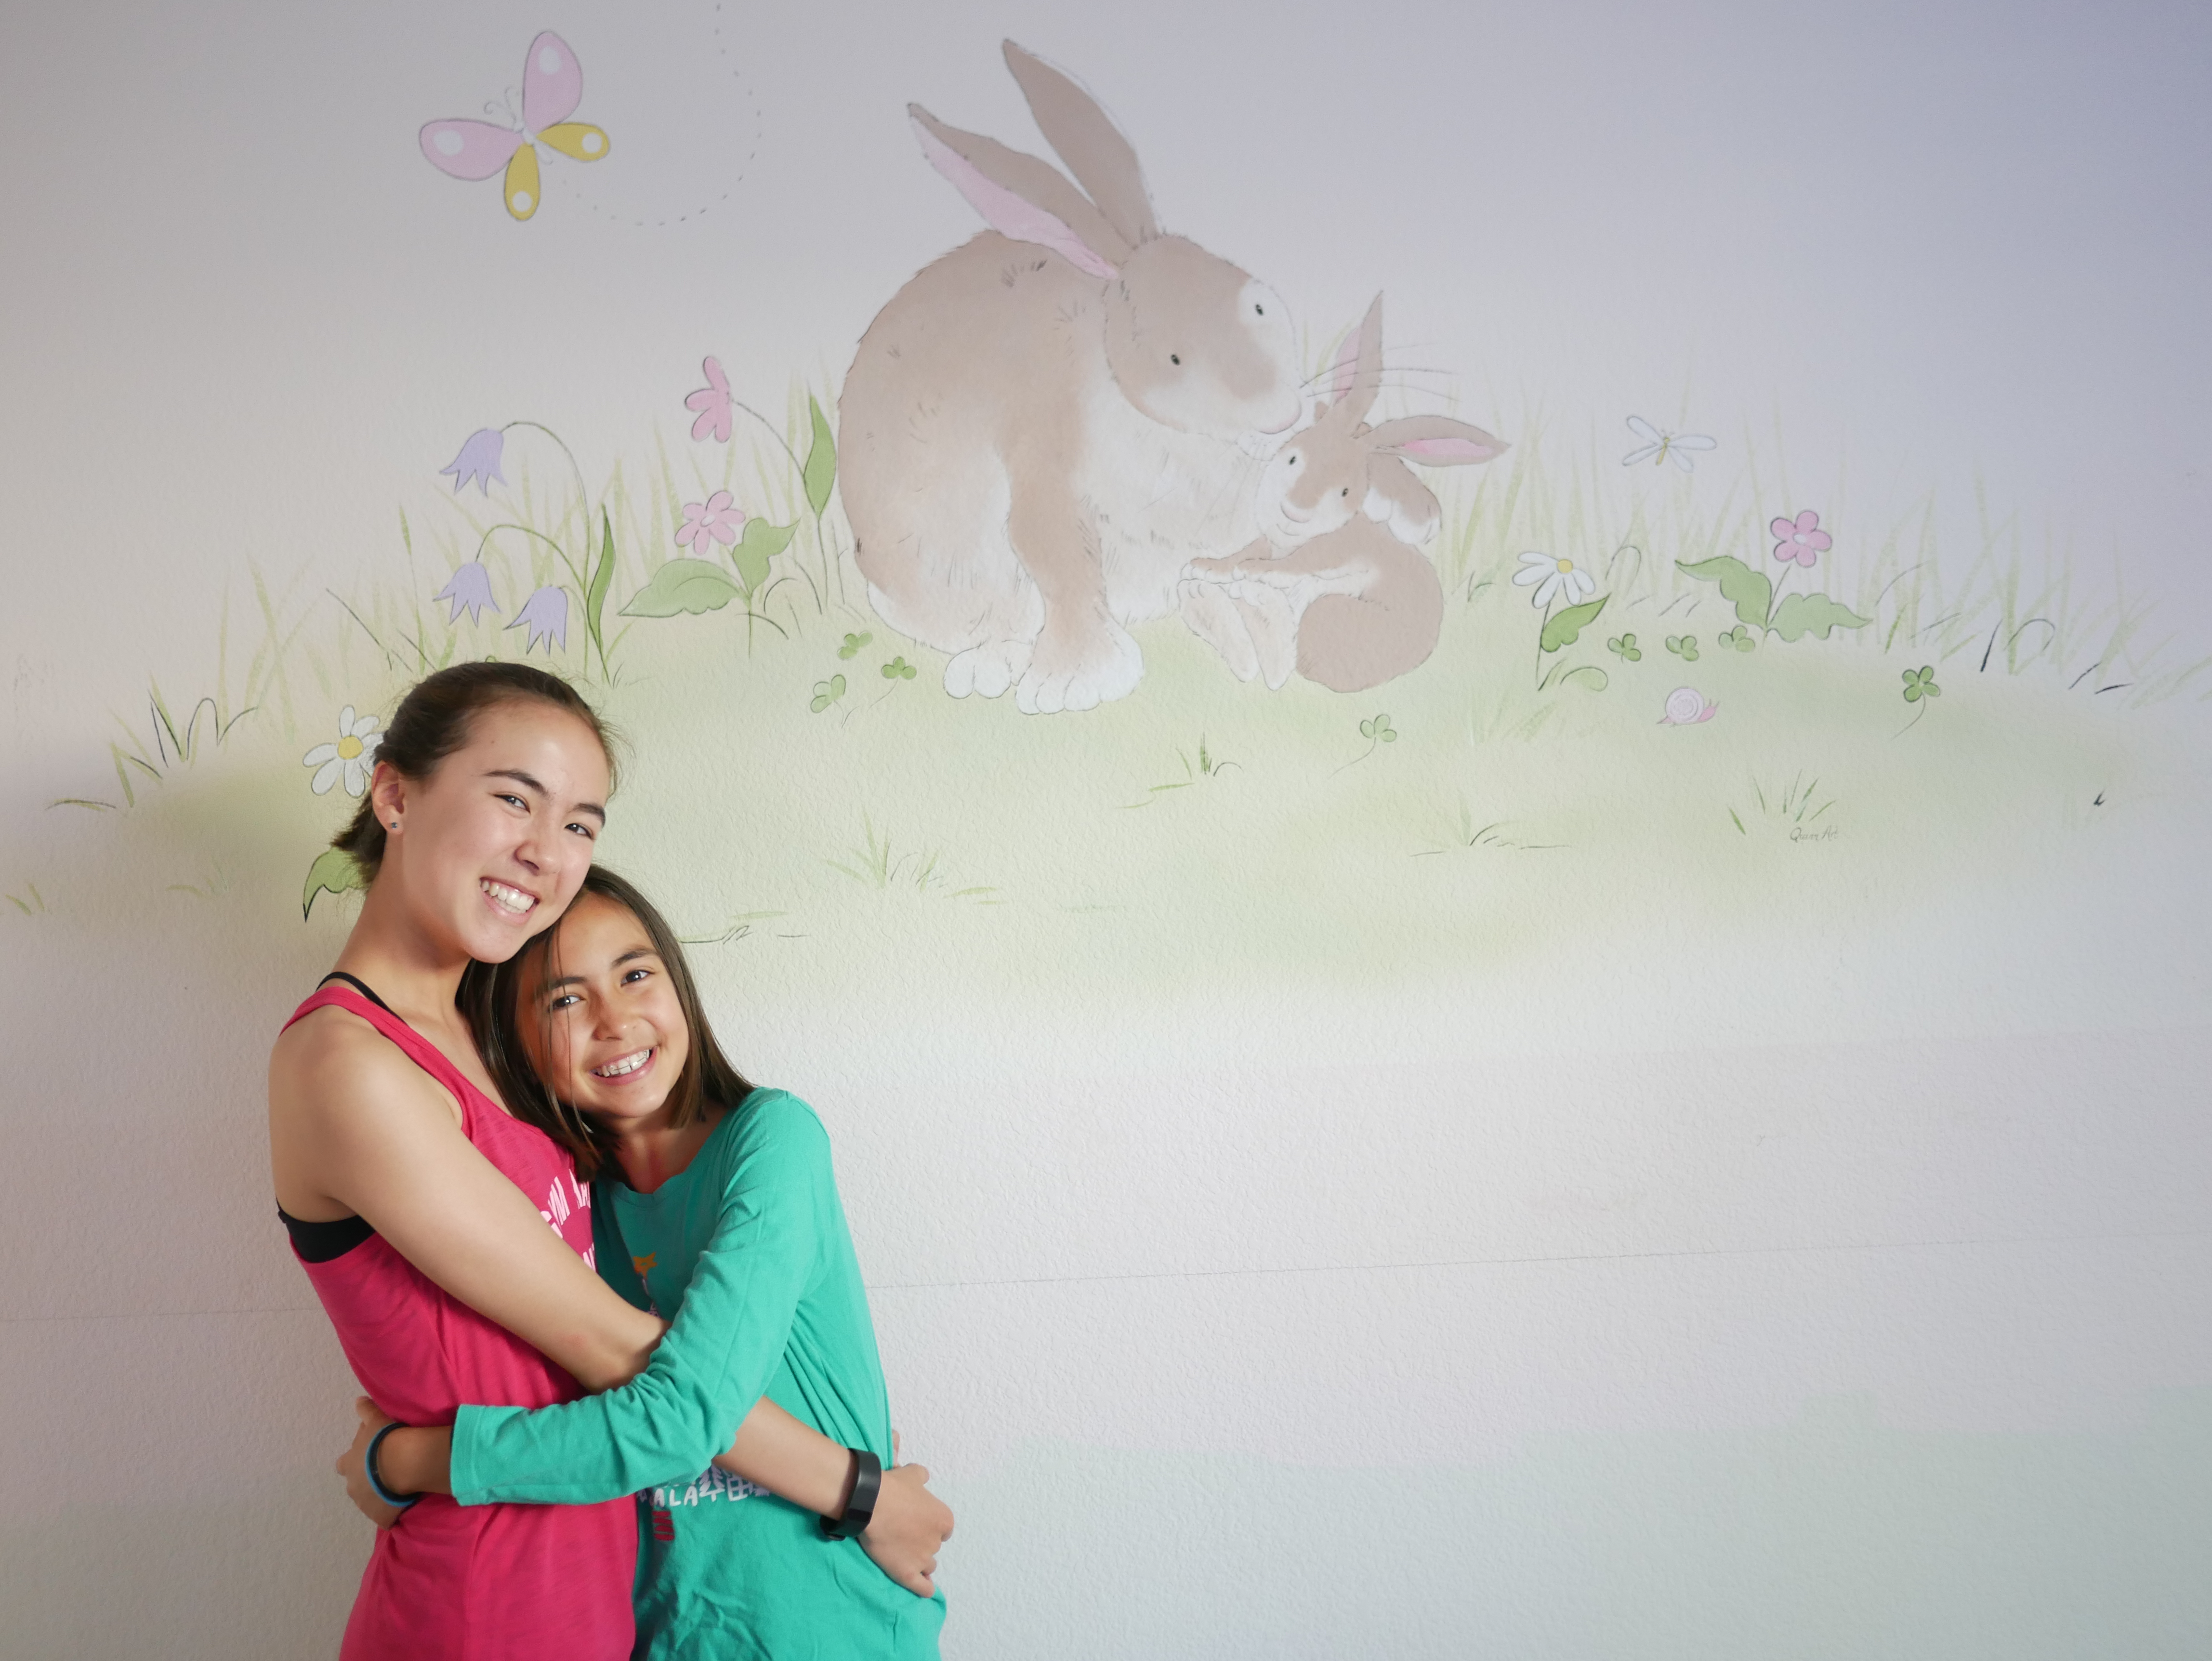
Before I was born, this was my sister Sophie’s room, so this was a big change for both of us.
This picture shows Sophie and I standing in front of the bunnies before we erase them from existence.
Priming the walls was actually quicker and easier than I expected.

Here is a picture of me painting over the bunnies. Erasing bunnies from existence in progress!
We had to wear old clothes so if we got paint on them, it wouldn’t matter too much.
The fumes were overwhelming, so that night, I slept on the pull-out couch in Sophie’s room. I was excited that the next day I would finally paint my room!
 The day had come to paint my room! I was really anxious to get started. We removed all the furniture from my room except my bed because it wouldn’t easily fit through the door. 🙂 We covered the whole bed in plastic so paint wouldn’t get on it.
Later that day, we went to Kelly Moore to buy the paint. It took around 5 minutes for them to mix the paint, and we went back home with a gallon full of Cloud-Wisped Sky. Then, we finally started painting!!!!!!!!!!!!!!!!!
Here is a picture of me painting over the primer.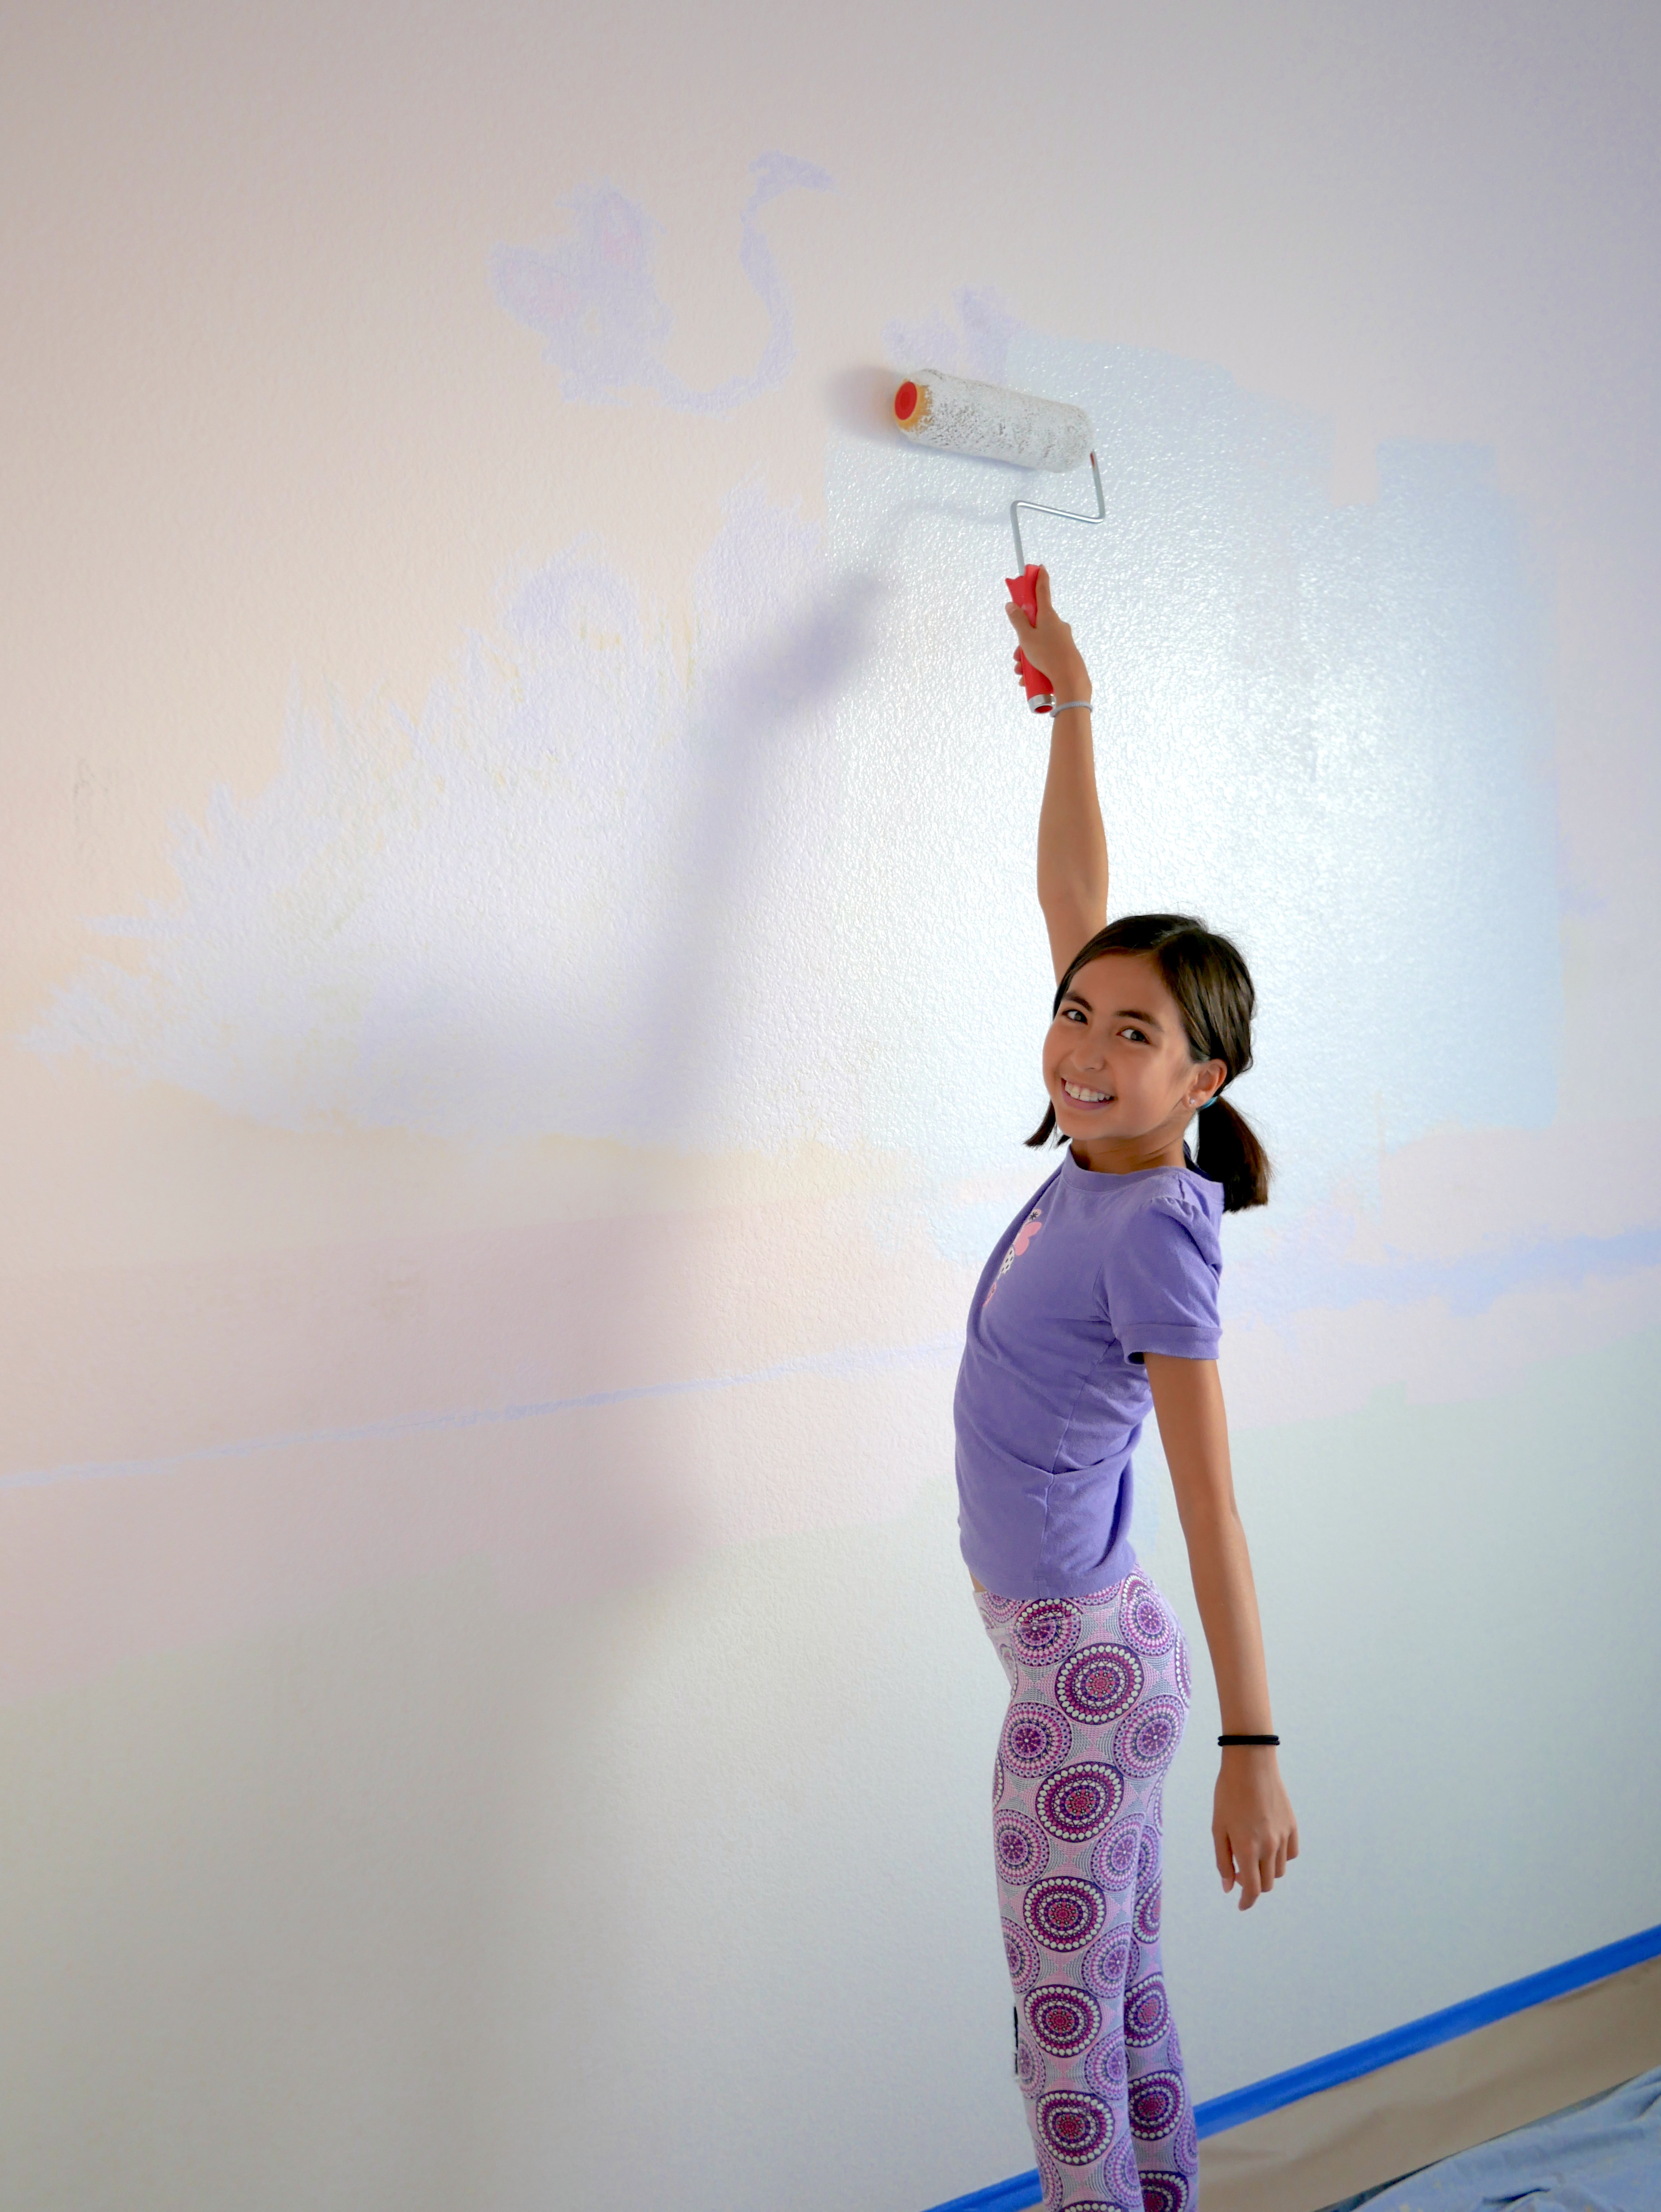 I was sad, but mostly happy.
Everybody in my family helped to paint all the walls in my room.
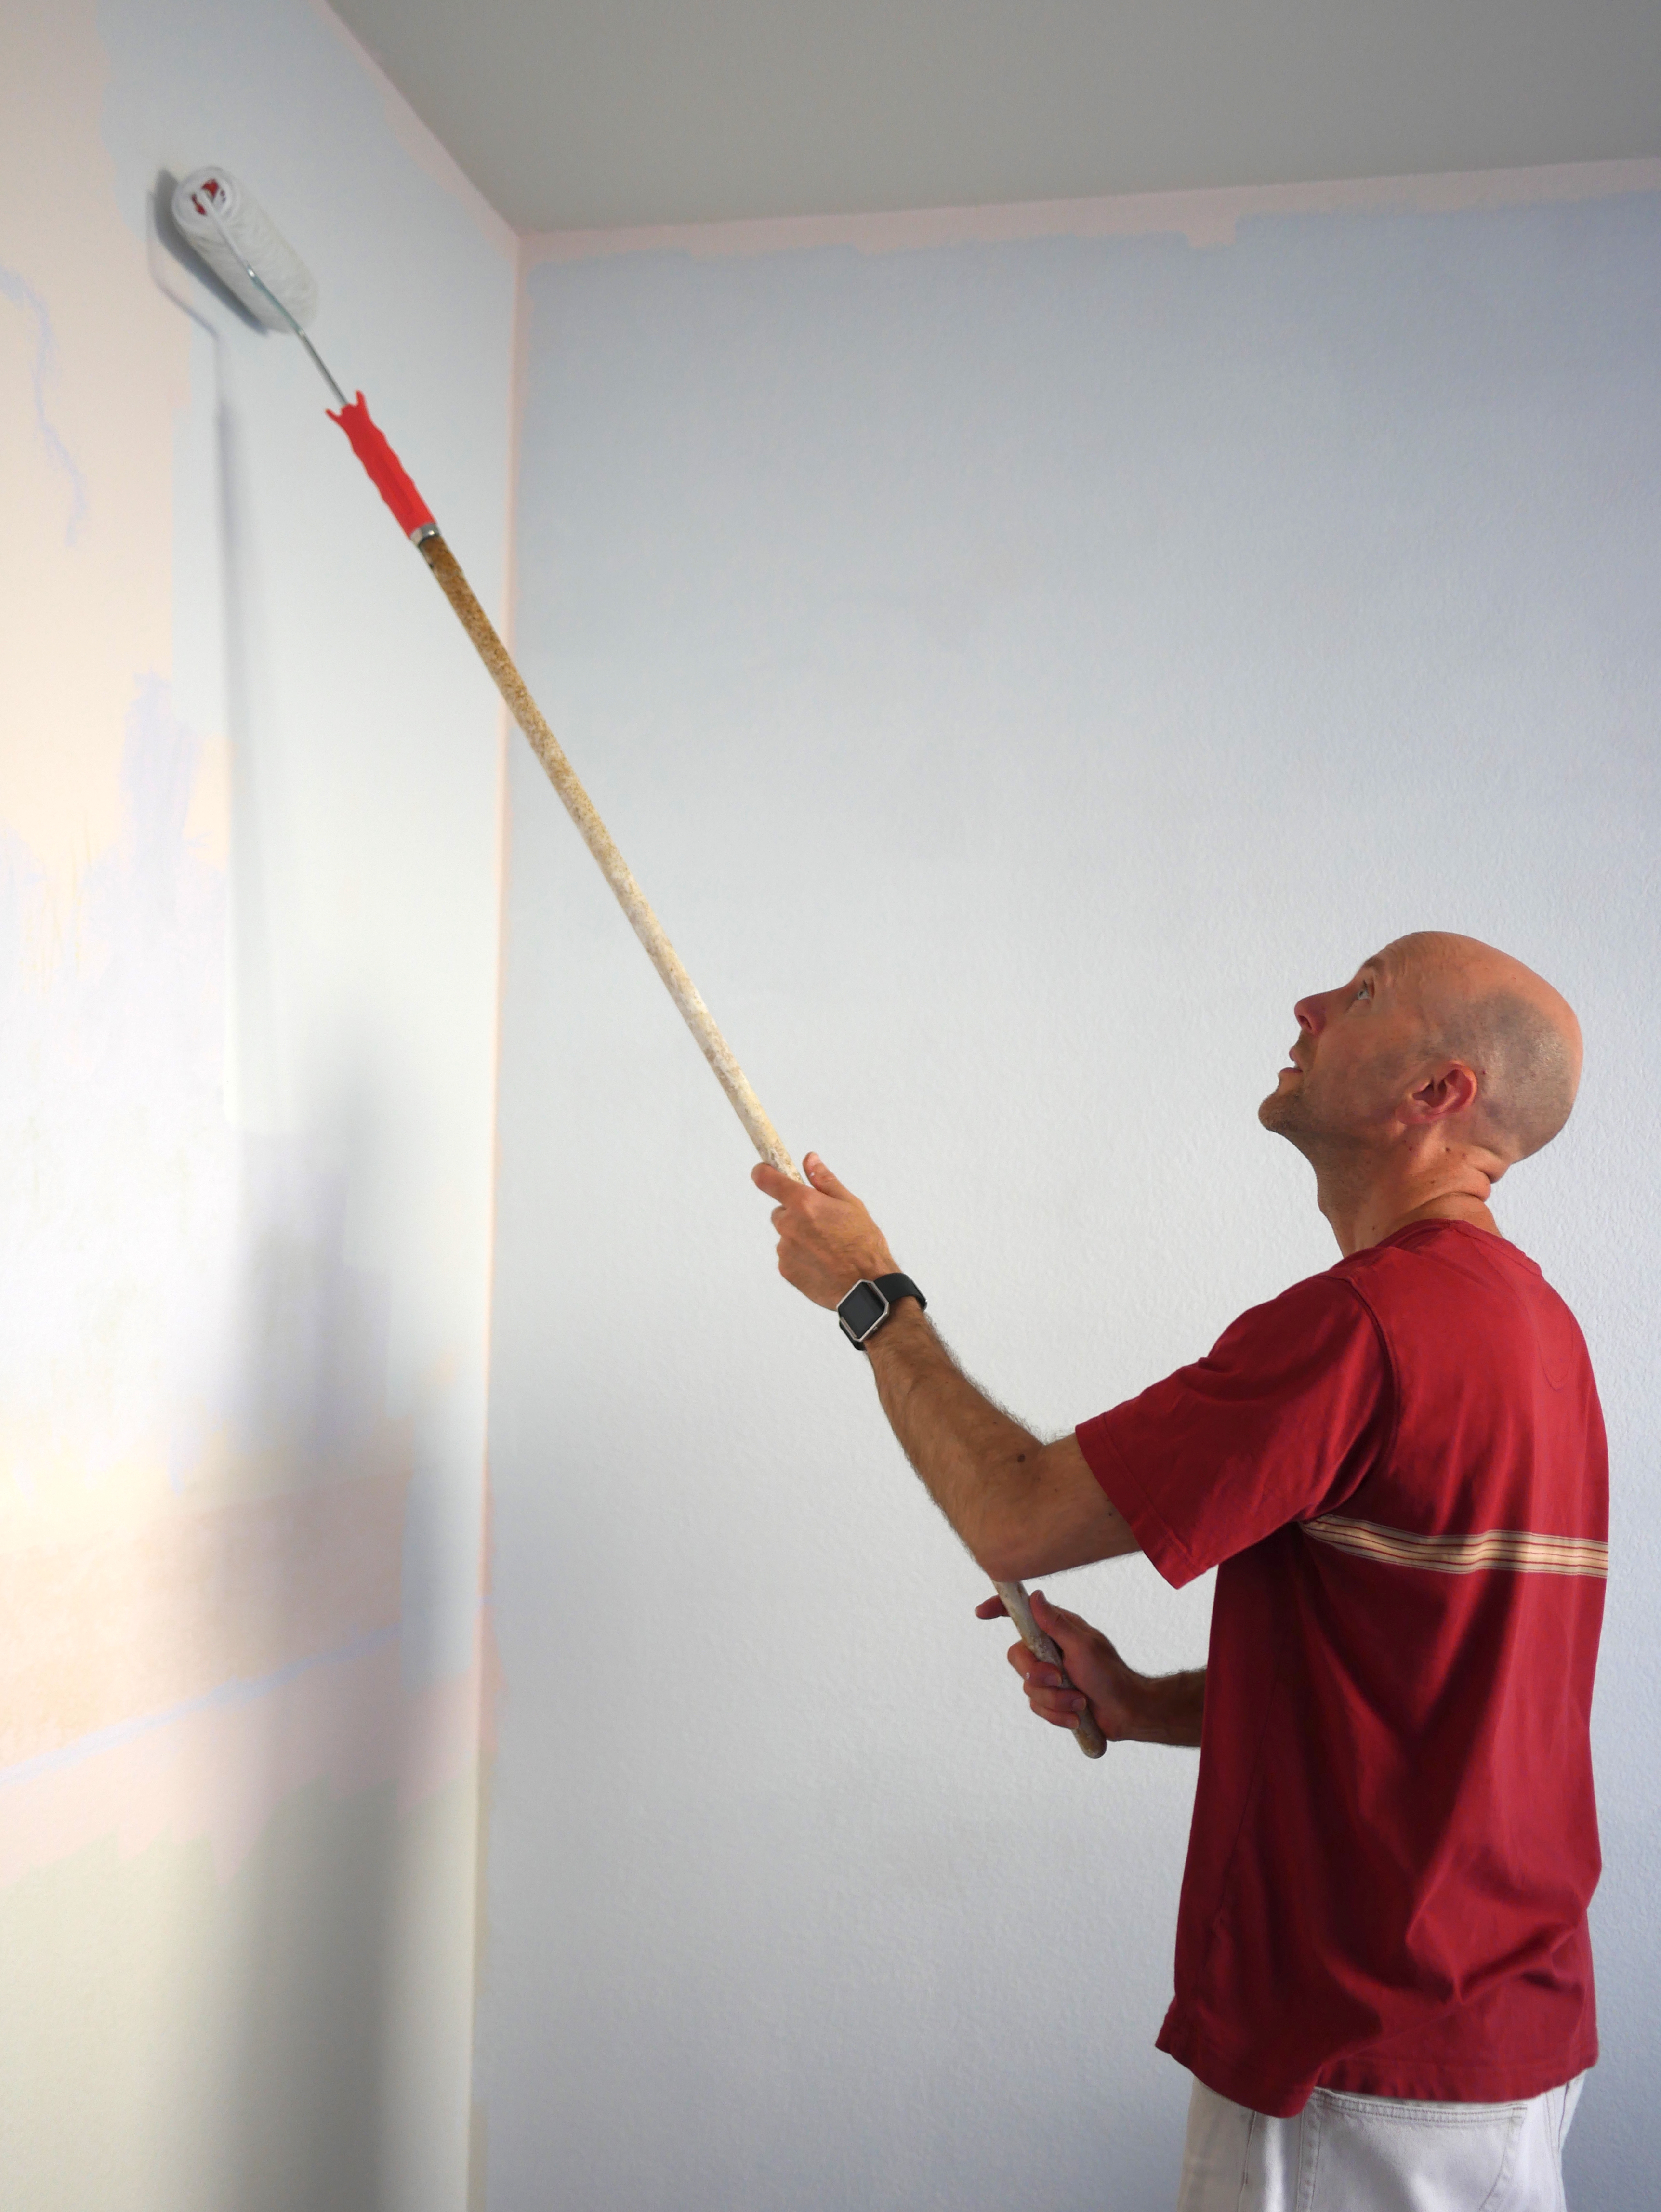 To get to the high parts, my dad would put the roller brush on a pole. He can get to the parts closest to the ceiling.
Here is a picture of my dad in action.
After we finished, I felt really happy. It looked great! Since we painted the whole room and the fumes were even more potent, I slept in Sophie’s room again that night.
 The next day (which was today as I’m writing this), the room looked even better. The color turned a little bit darker, which made the room look prettier- just like a Cloud-Wisped Sky!
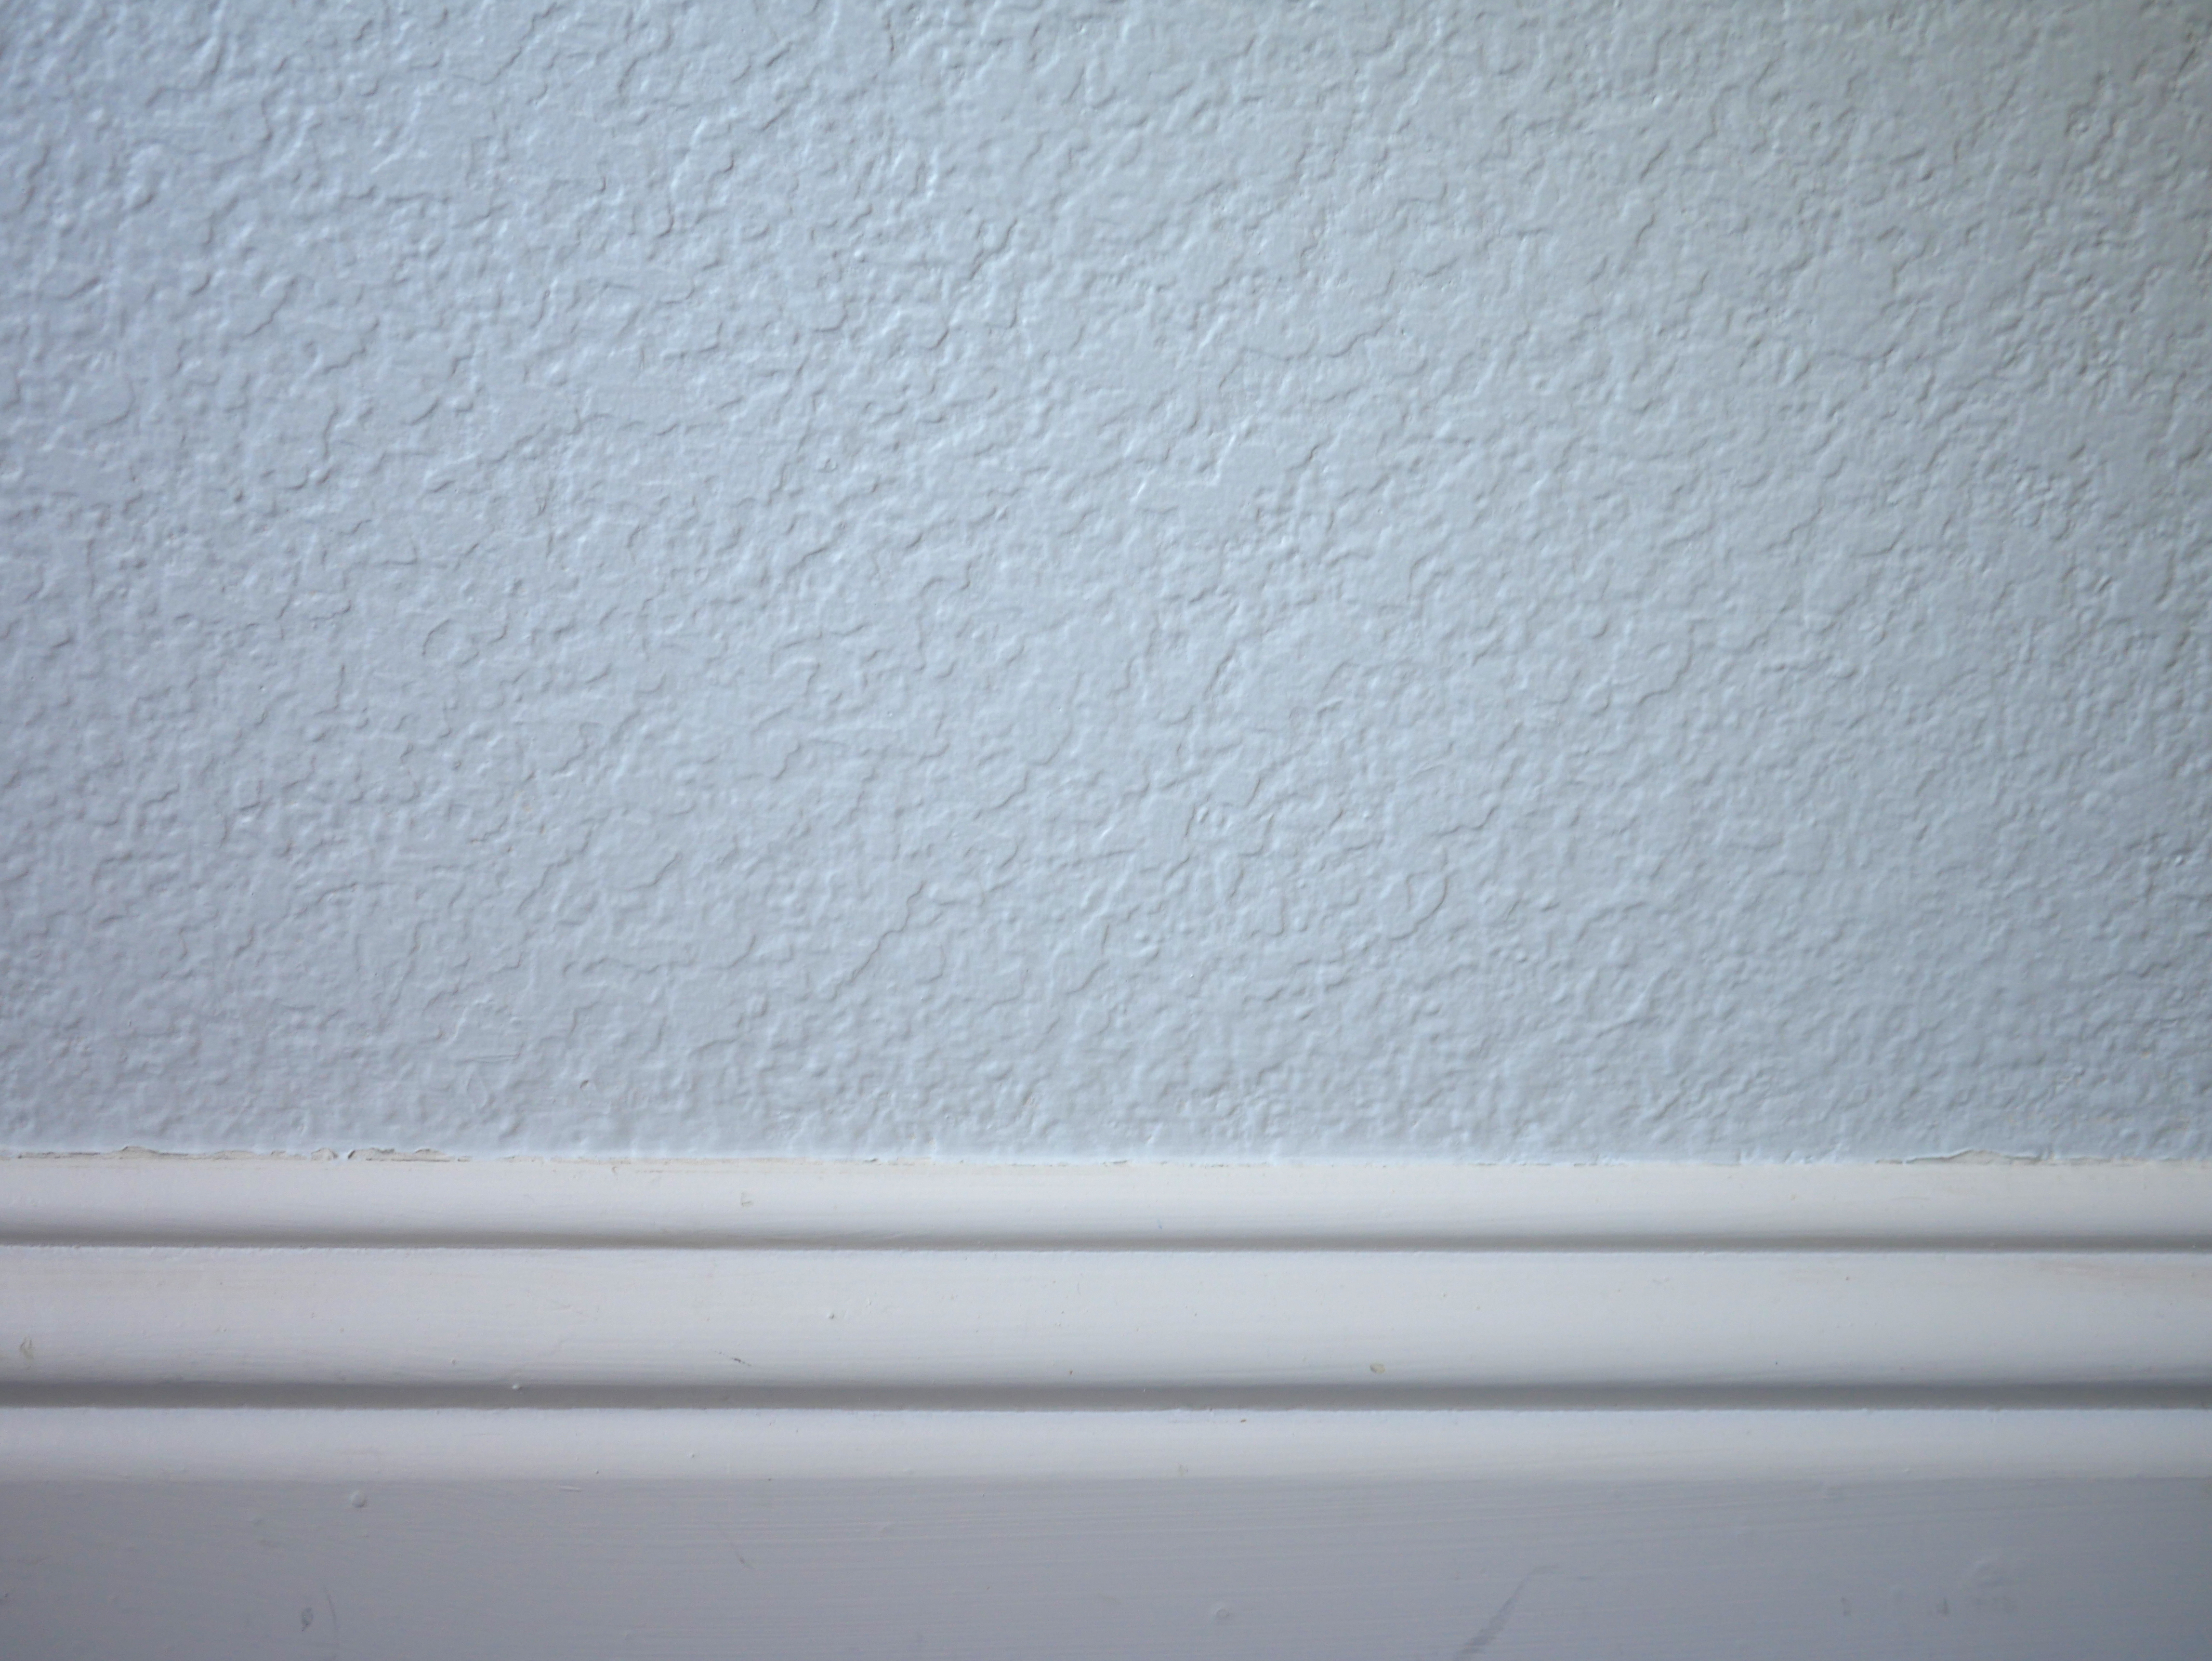
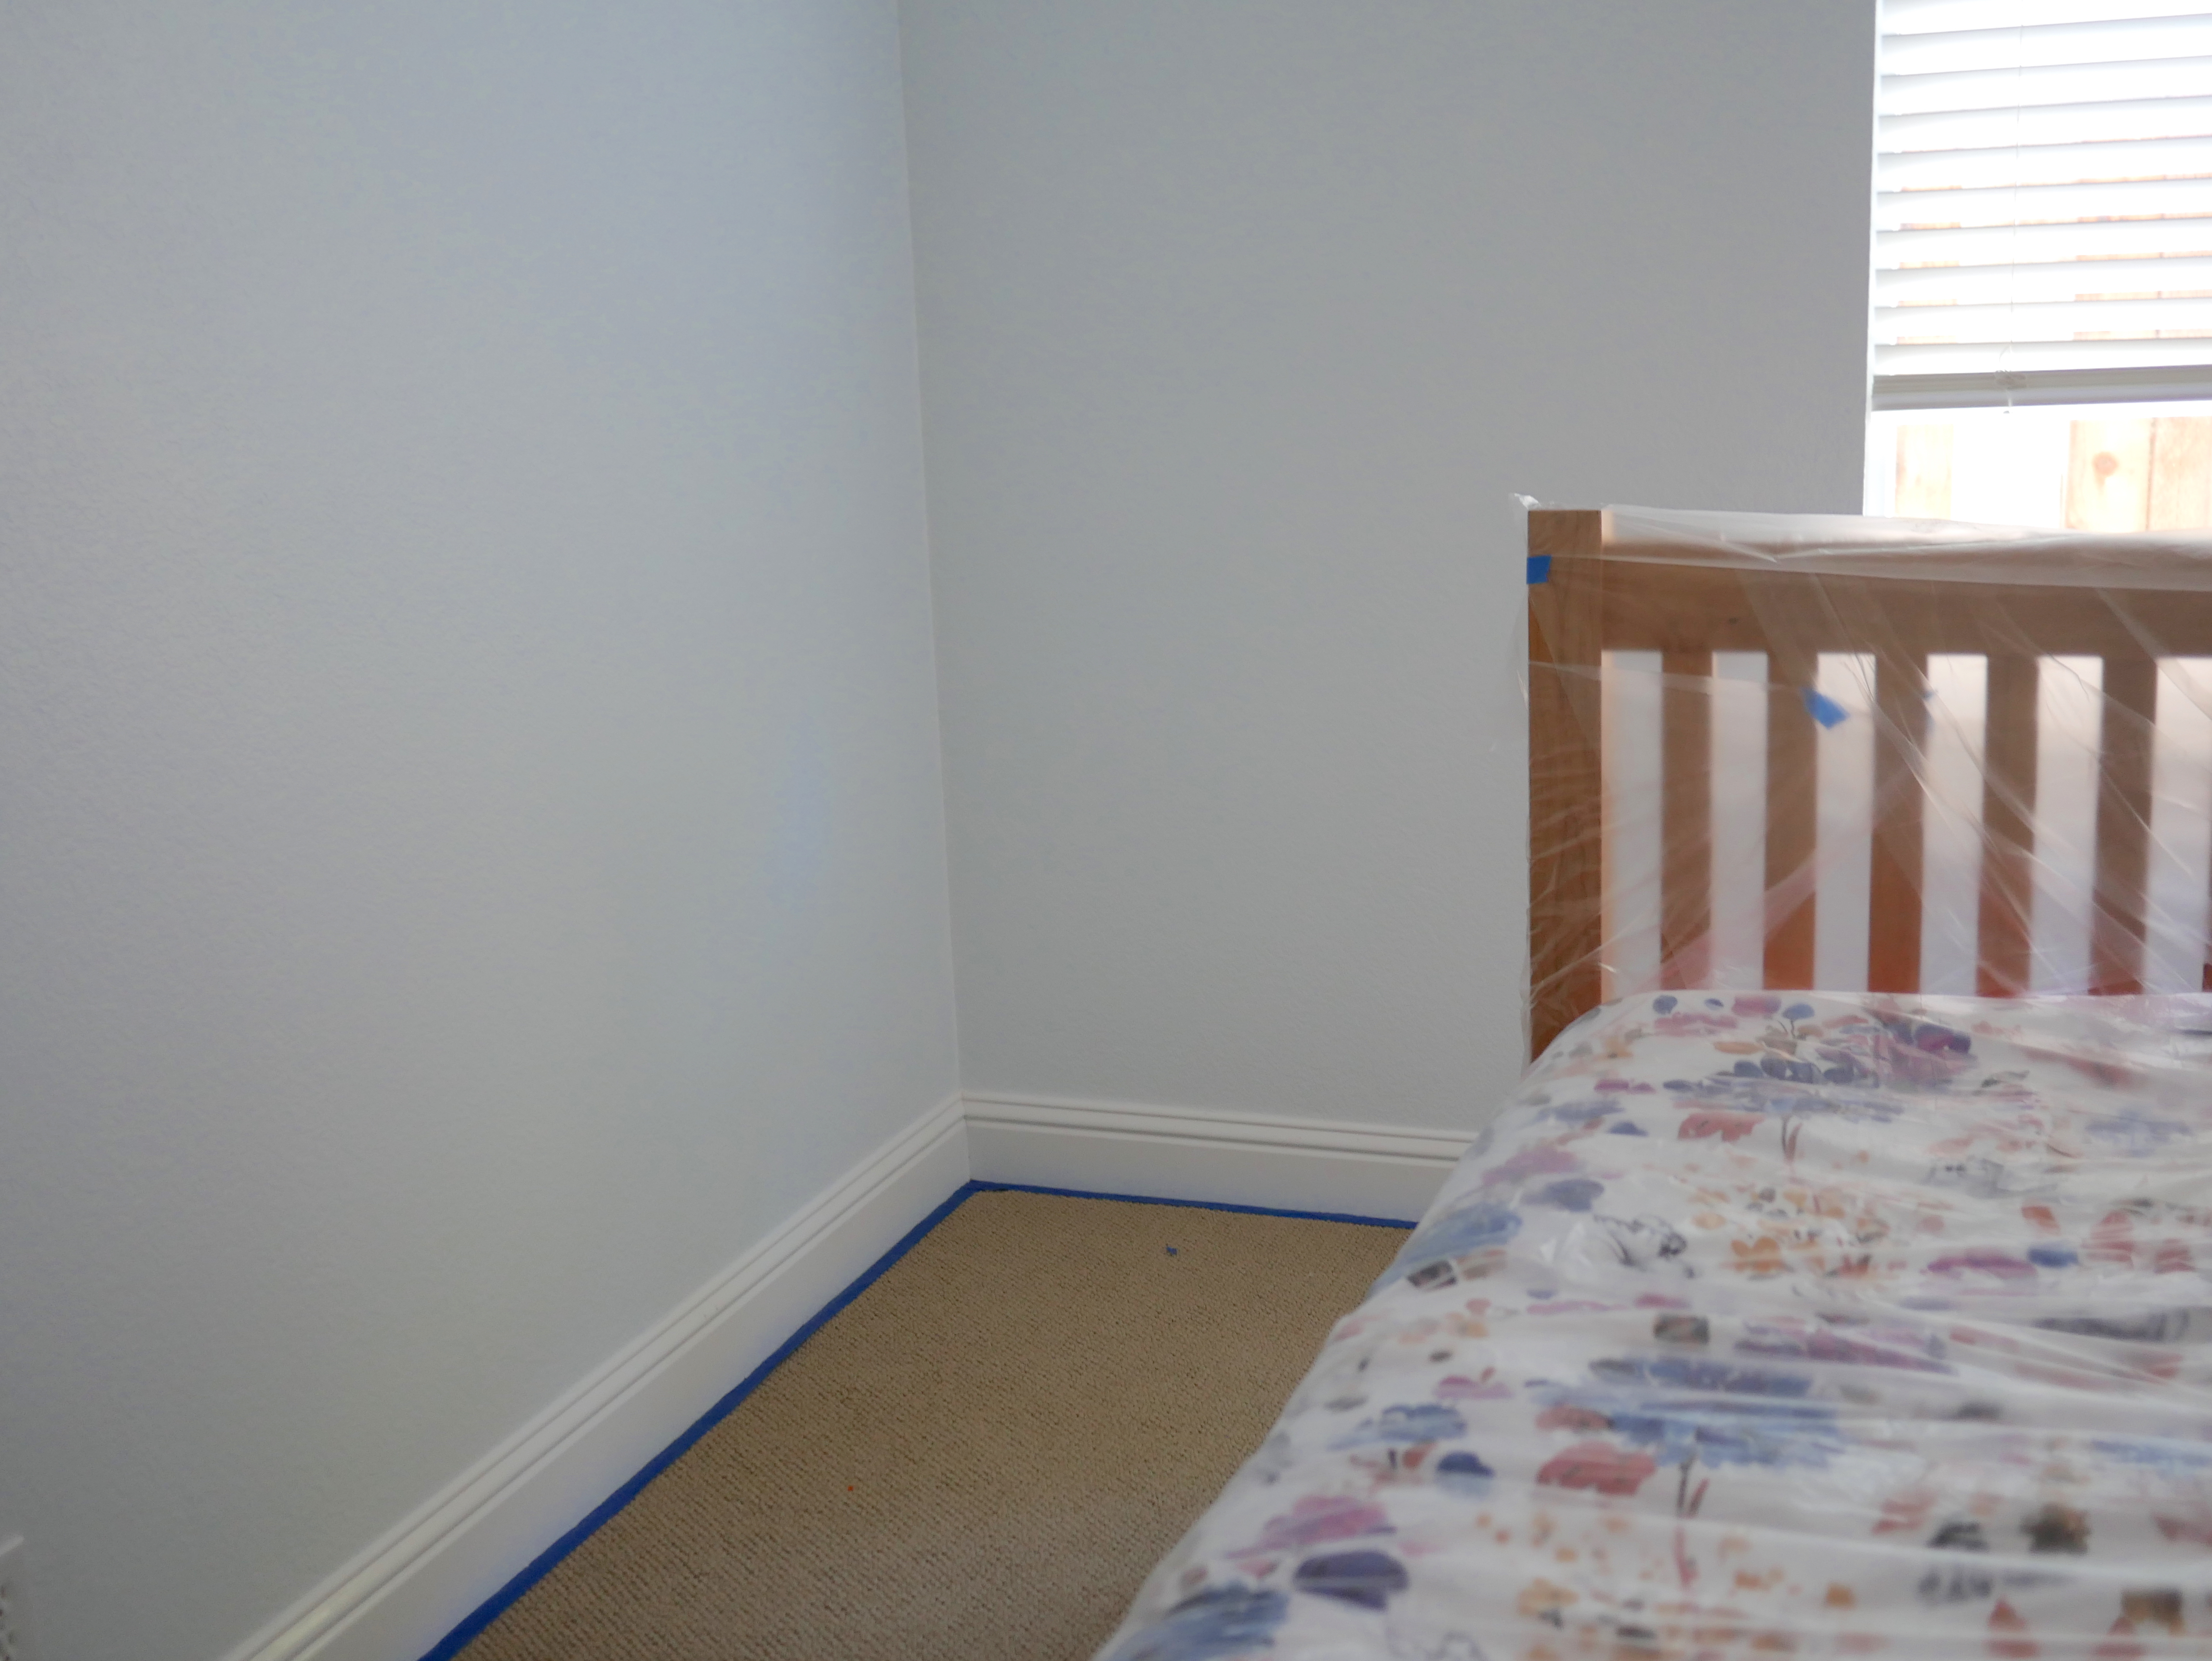
This is the corner of my room, fully painted!
My dad noticed that some of the old color (pink) was showing on the ceiling. So he took a stool and the paint color of the ceiling (New Linen in a flat finish) and painted over all the pink bits. While he was doing this, I took the Cloud-Wisped Sky paint can and painted over some spots that needed some touch-ups.
Then, my dad took the paint color of the baseboards (Blanco in a semigloss finish) and touched up the baseboards too.
Even though this was a lot of work, I am really happy with how it turned out.
I hope you enjoyed reading! Thank you! 😀